The Site Editor in WordPress is a visual editing tool that allows you to make changes to your website theme’s appearance. In this article, we will explore how to use the Site Editor to customize the site Header, Footer, and Sidebar of your CAES or Extension WordPress site.

Updating template parts impacts all of your site pages
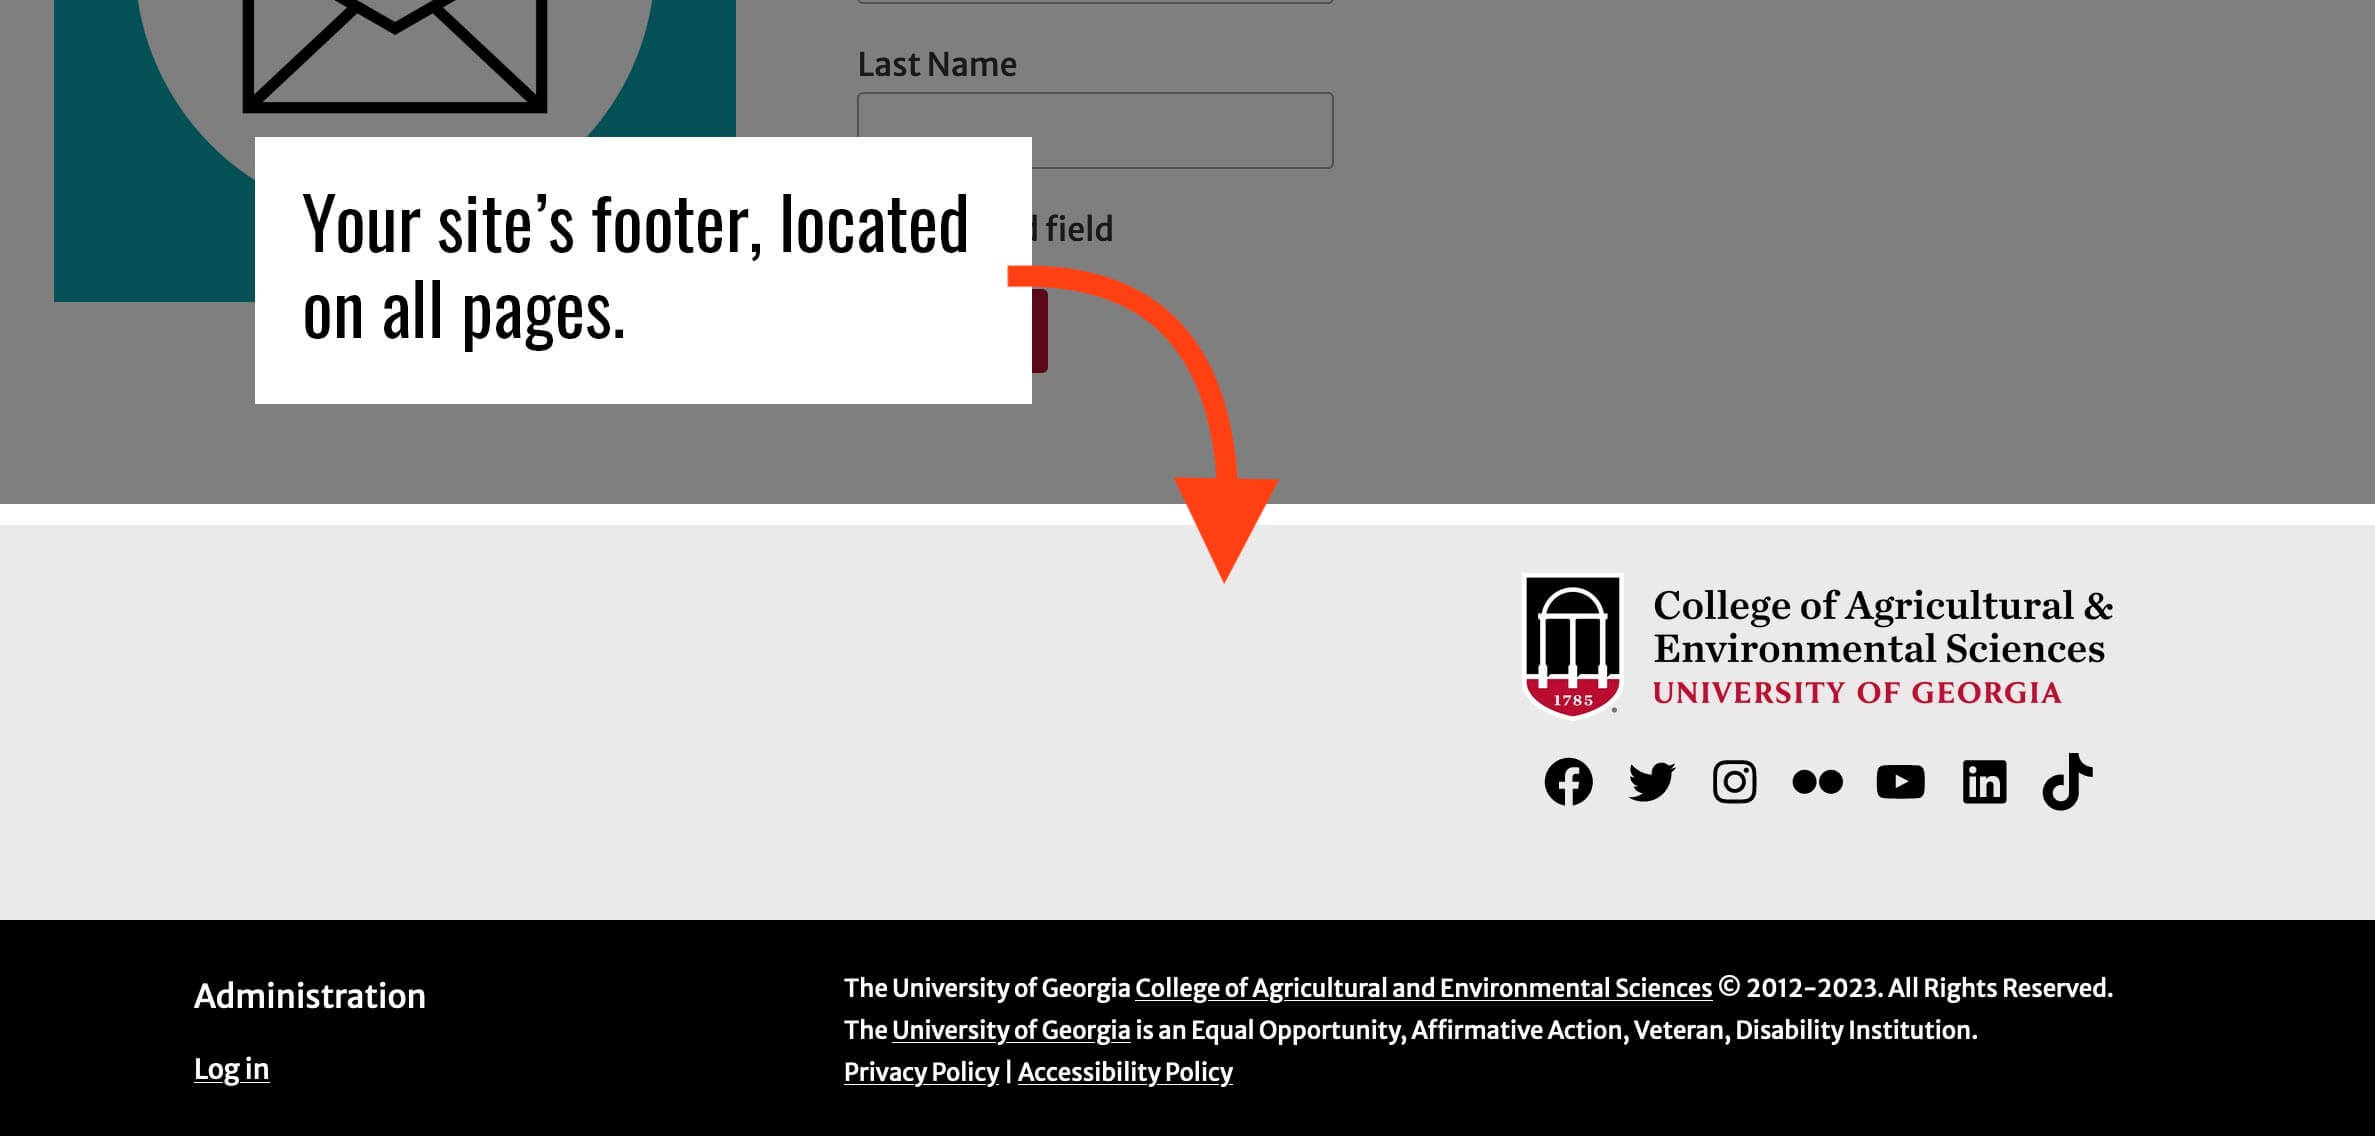
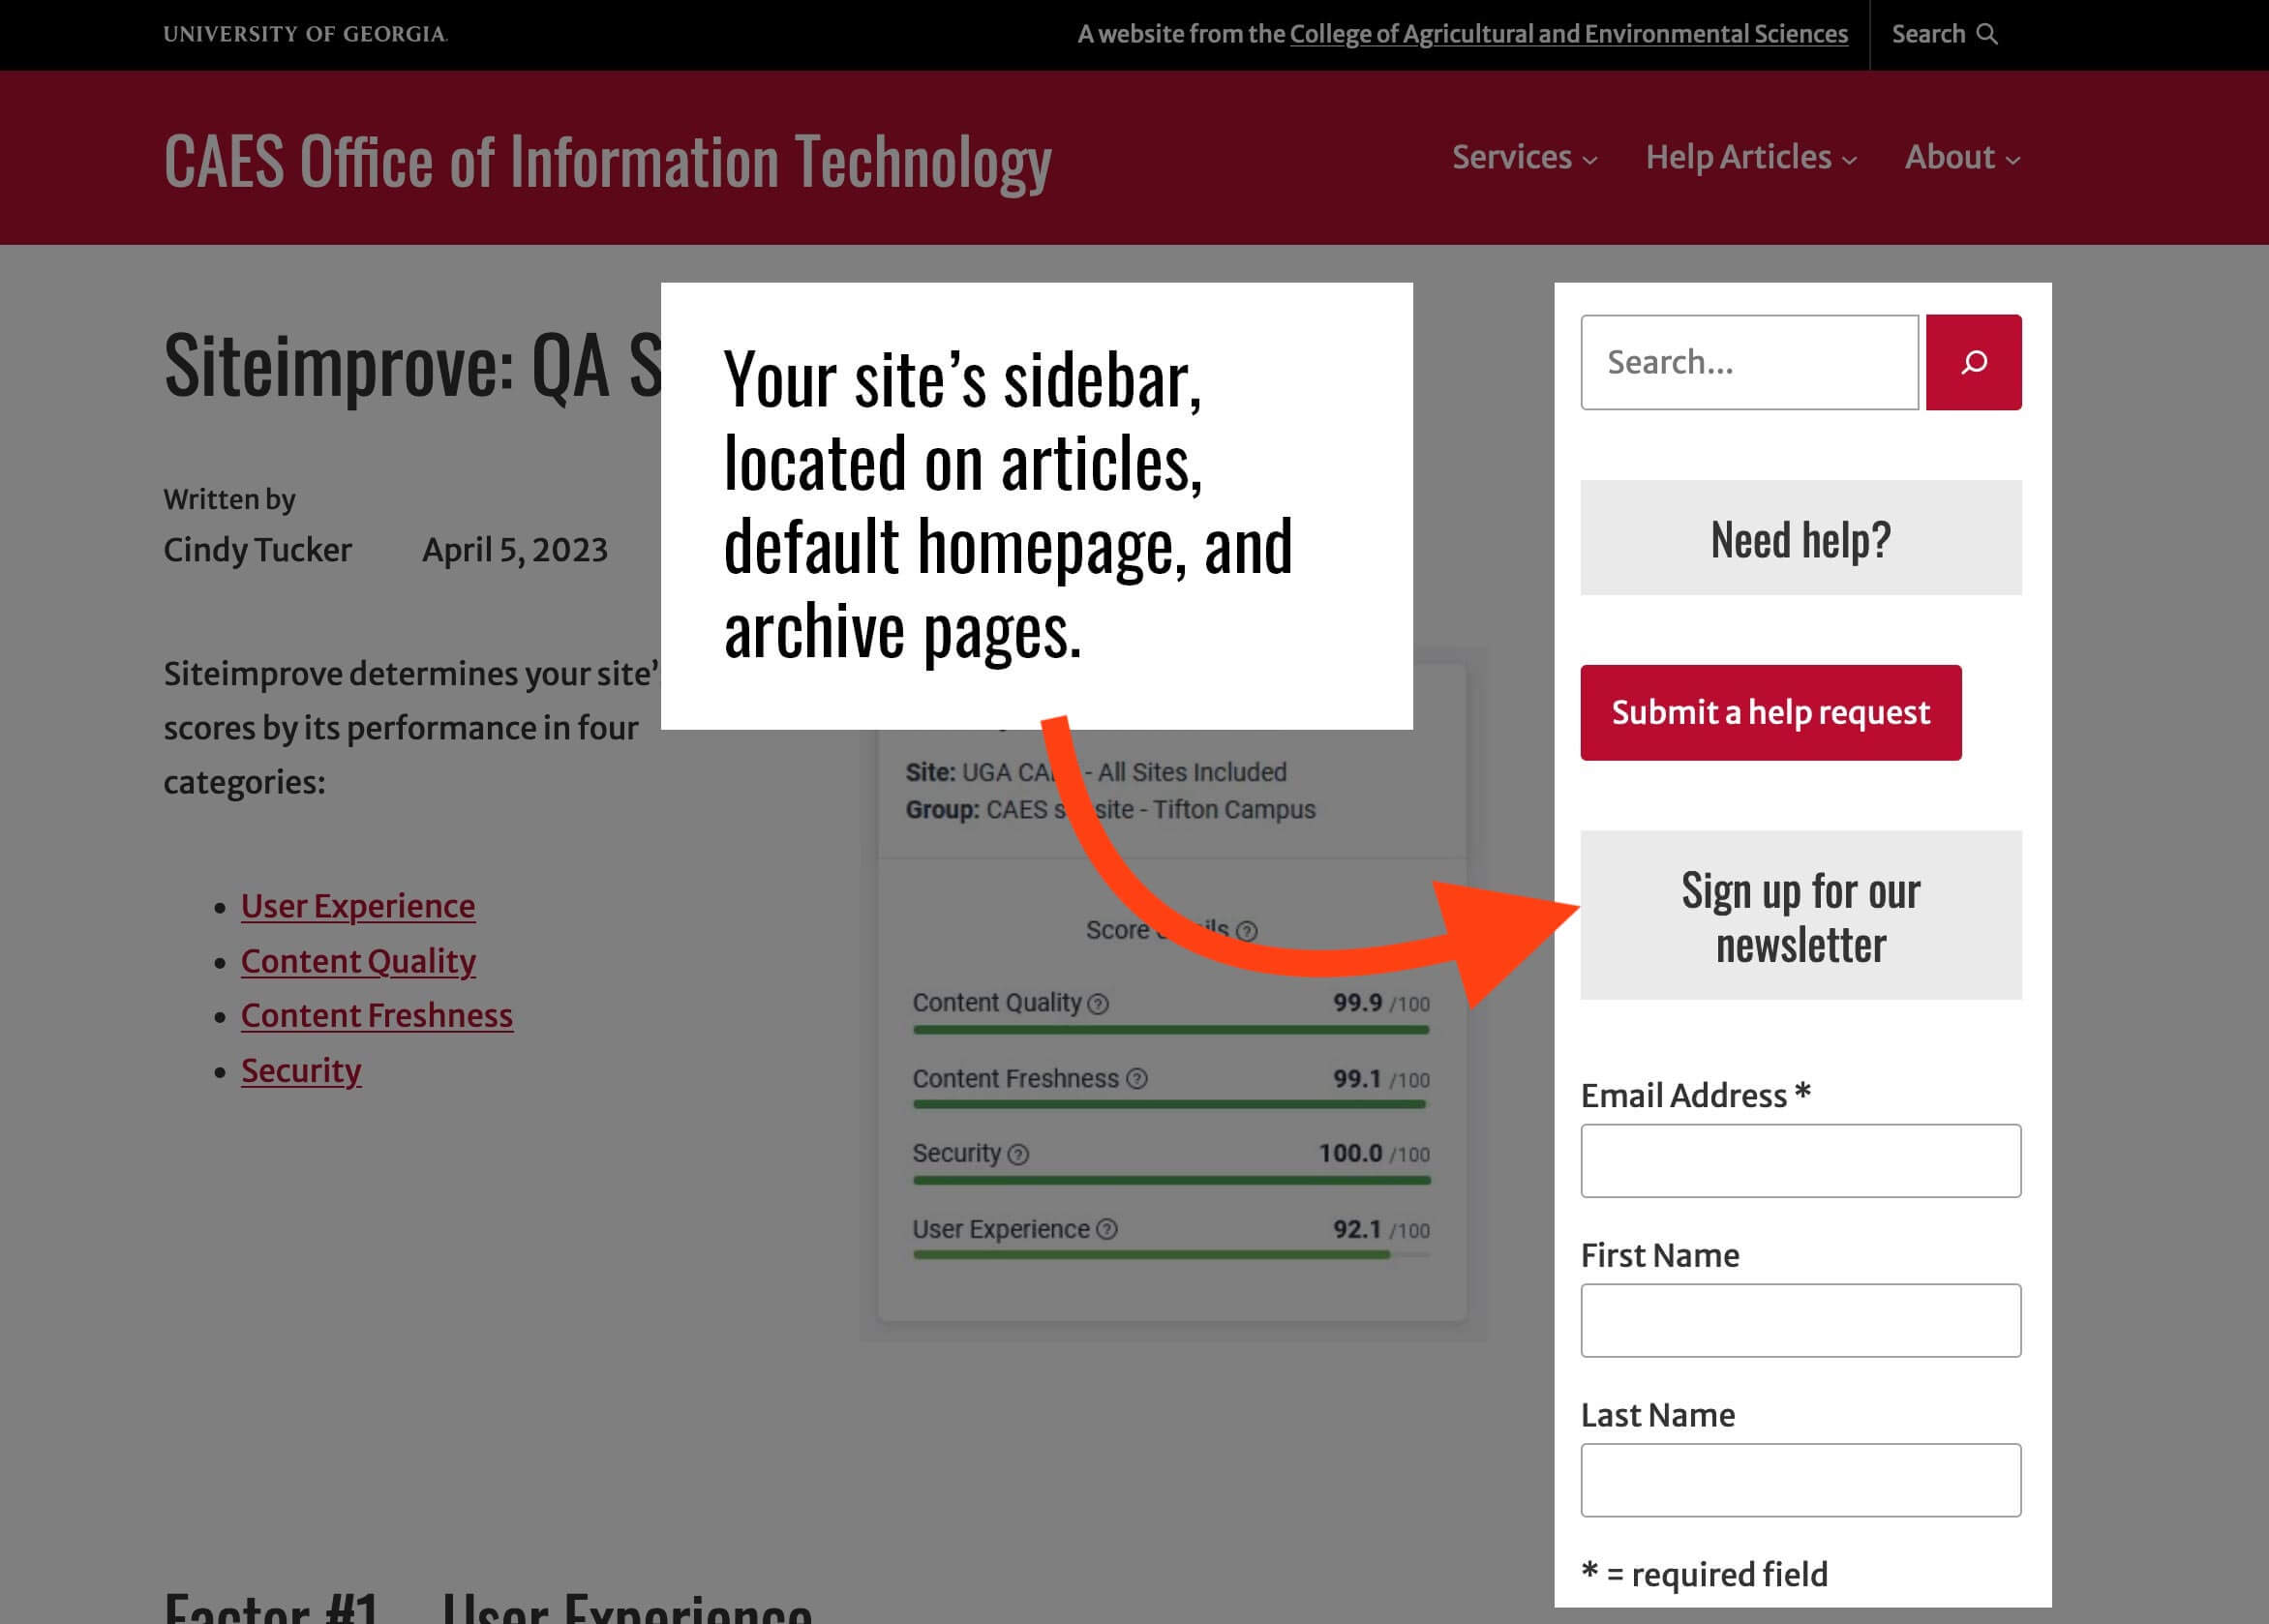
Any changes made to a Header and Footer template part will be reflected on all pages and posts. Changes made to the Sidebar template part will be reflected on any page or post that has a sidebar.
Table of contents
- Visual examples of Header, Footer, or Sidebar
- Editing your site Header, Footer, or Sidebar in the Site Editor
- Using Header, Footer, or Sidebar patterns
- Resetting a Template Part
- Need help?
Visual examples of Header, Footer, or Sidebar

Editing your site Header, Footer, or Sidebar in the Site Editor
- Log in to your WordPress site
- From the Dashboard, go to Appearance > Editor
- From the left menu, select “Patterns”
- Click Header, Footer, or General from the “Template Parts” section. You may have to scroll down to see the Template Parts section on the Patterns screen.
- Click the template part from the screen you want to edit
- Use the visual interface to edit the template part
- Once done, click Save. Click Save again to confirm changes to the template part.
Definition: Template Part
A template part is a technical term that refers to parts of your site that are repeated on many pages, like the header, footer, and sidebar.
Using Header, Footer, and Sidebar patterns
Patterns are a predefined collection of blocks. We’ve created pattern designs you can easily use for your website Header. We also have sidebar patterns that you can add to your sidebar (for example, section headers).
To add a pattern to your site’s Header, Footer, or Sidebar:
- Log in to your WordPress site
- From the Dashboard, go to Appearance > Editor
- From the left menu, select “Patterns”
- Click Header, Footer, or General from the “Template Parts” section. You may have to scroll down to see the Template Parts section on the Patterns screen.
- Click in the window with the template part
- Click the blue + icon in the upper left hand corner to add a new block
- Click on the “Patterns” tab and then the category for the template part you’re working on
- Select a pattern to insert
Important
Patterns available for your site’s Header are meant to replace the ENTIRE header. If you use a header pattern, please make sure to remove your older header in the Site Editor before saving.
There are two patterns available for footers: the CAES/Extension footer and the UGA footer. The UGA footer is only suitable for certain sites. If you think the UGA footer fits your site, please contact the Web Team. We will discuss if it’s the right choice for your website’s branding, and help you add it if so.
Resetting a Template Part
If you’ve made a mistake adding changes to a template part and need to start over, you can reset template part back to its default. To do this:
- From the Dashboard, go to Appearance > Editor
- From the left menu, select “Patterns”
- From the left menu, select “Manage all template parts”
- On the “Template Parts” screen, select the three dots on the right of the template part you want to reset. Select “Clear Customizations” from the menu.
- This will reset the template part. Be sure to check the template part to ensure it has the correct branding (CAES or Extension?)
Questions?
If you have any questions about your CAES or Extension WordPress site, please let us know by contacting the CAES Web Team at caesweb@uga.edu.