The CAES Content Lightbox block is a WordPress block that adds a pop-up lightbox to your pages or posts. With this block, you can easily add any type of content, such as text, images, or videos, to a pop-up that appears when the user clicks on a button or link.
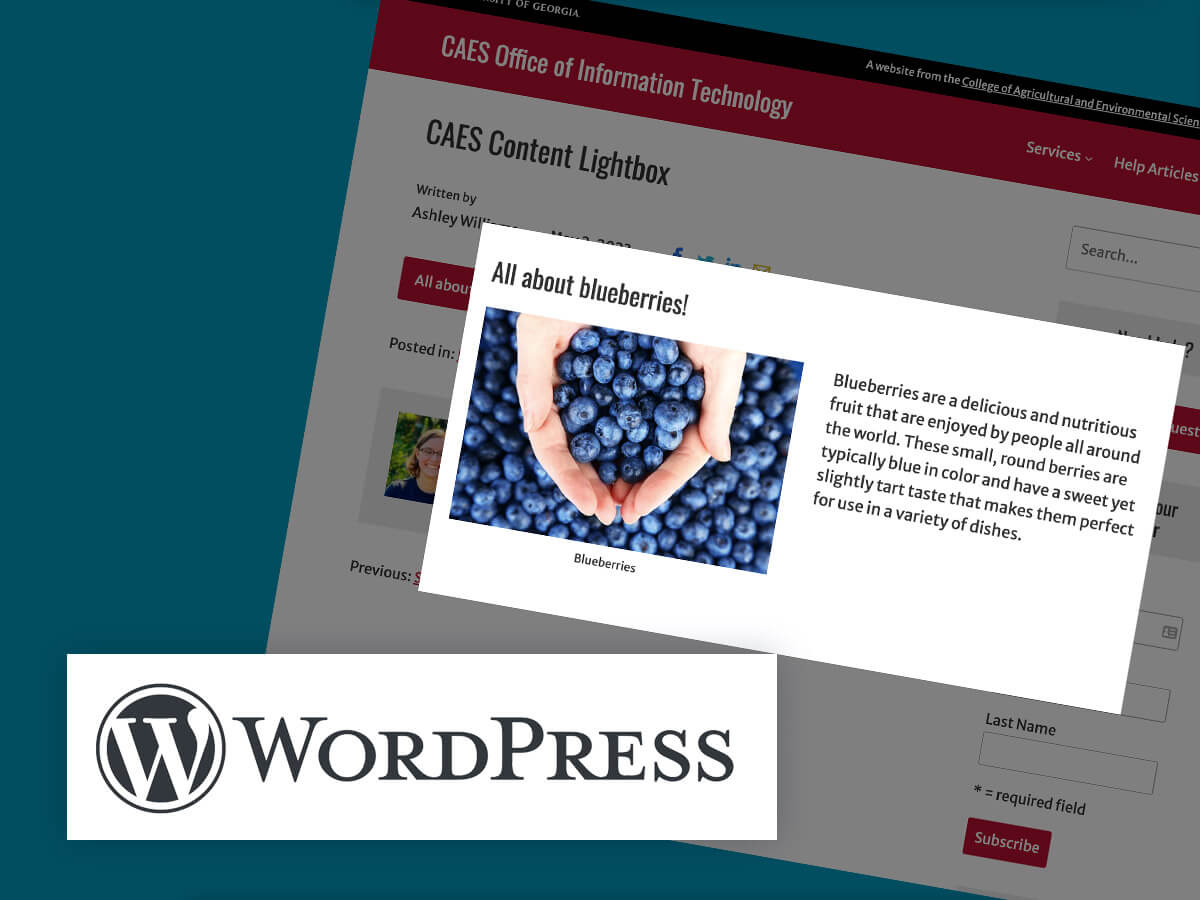
Table of contents
Example of CAES Content Lightbox
To see an example of the block in action, click the button below:
All about blueberries!

Blueberries are a delicious and nutritious fruit that are enjoyed by people all around the world. These small, round berries are typically blue in color and have a sweet yet slightly tart taste that makes them perfect for use in a variety of dishes.
How to add a CAES Content Lightbox Block
Video guide
Step 1: Add the block
- Log in to your CAES or Extension WordPress site and navigate to the post or page where you want to add the block.
- Click the “Edit Page” (or Post) link at the top of the site.
- Click the “+” icon located in the top left corner of the editing screen.
- Use the search to find the CAES Content Lightbox block. Click on it to add it to your page.
- The block will appear in your page. It has a bordered outline to represent that the content in the block will appear in a lightbox on your site.
- Add content to the block. Add a heading where the placeholder heading is. You can add text, images, video embeds, columns, and more to the content area of the block.
- Once you are done, select your block and go to the Block Settings on the right of the screen. Under “Advanced”, give the block an HTML anchor. The anchor text should be short, without spaces. It should also be unique, so if you use multiple lightboxes on a page, make sure they all have different anchor text.
- Copy the anchor you’ve typed for step 2.
Step 2: Add link to open the lightbox
- Add a link to your page. The link can be a text link, a button, an image link, or anything other type of block that allows you to insert a link.
- In the block’s toolbar, select the Link icon.
- In the pop up field, type in a pound sign “#” and paste in the anchor text from Step 1.
- After adding your link in the field, click the suggested internal link to commit the change.

Step 3: Test your lightbox
Use the preview button in the upper left hand corner of the editor to test your new lightbox. If the button is not working, make sure your anchor text and link match, since it is case sensitive.
Once you are done, be sure to Save or Publish your page or post draft!
Need help?
Check OIT’s WordPress posts for more WordPress tips.
If you have any questions about your CAES or Extension WordPress site, please let us know by contacting the CAES Web Team at caesweb@uga.edu.