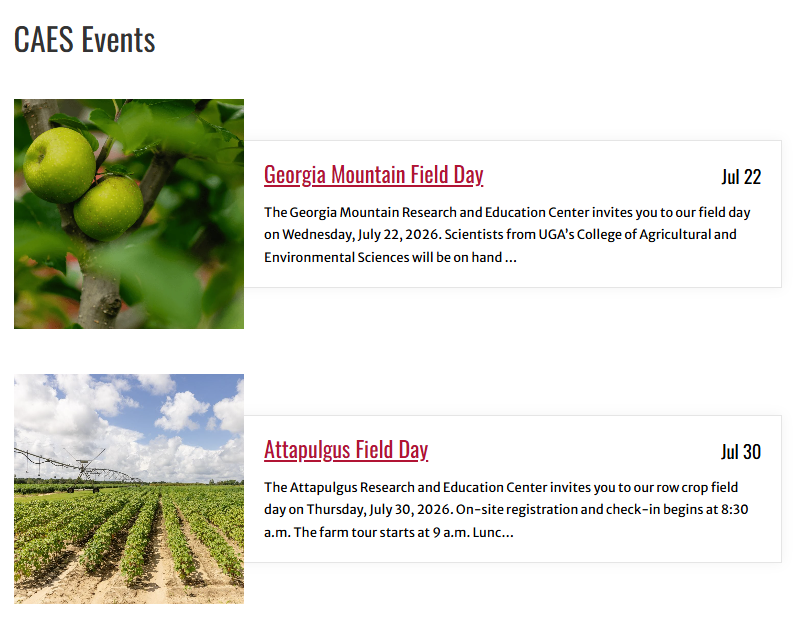
WordPress includes flexible tools for displaying and managing upcoming events on your website. Whether you’re showing events from the CAES Field Report, the UGA Extension Calendar, or events managed directly on your site, the CAES Events block makes it easy to keep visitors informed.
Using the CAES Events block
Add the CAES Events block to any page where you want to display upcoming events.
In the block settings, choose which event sources you want to include:
- CAES Field Report – Displays events from the college’s official event feed.
- UGA Extension Calendar – Displays events from the UGA Extension calendar.
- Local Events – Displays events created directly on your website.
The block automatically displays upcoming events and updates as events are added or removed from the selected sources.
What are local events?
Most websites only need to display events from the CAES Field Report or UGA Extension calendar.
If your site needs to publish events that don’t belong in either of those calendars, you can use Local Events.
Local Events lets you create and manage events directly within your WordPress site.
Enabling local events
Local Events is disabled by default. Contact caesweb@uga.edu or submit a work request for assistance.
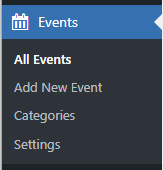
Once enabled, an Events menu appears in the WordPress dashboard.
Creating a local event
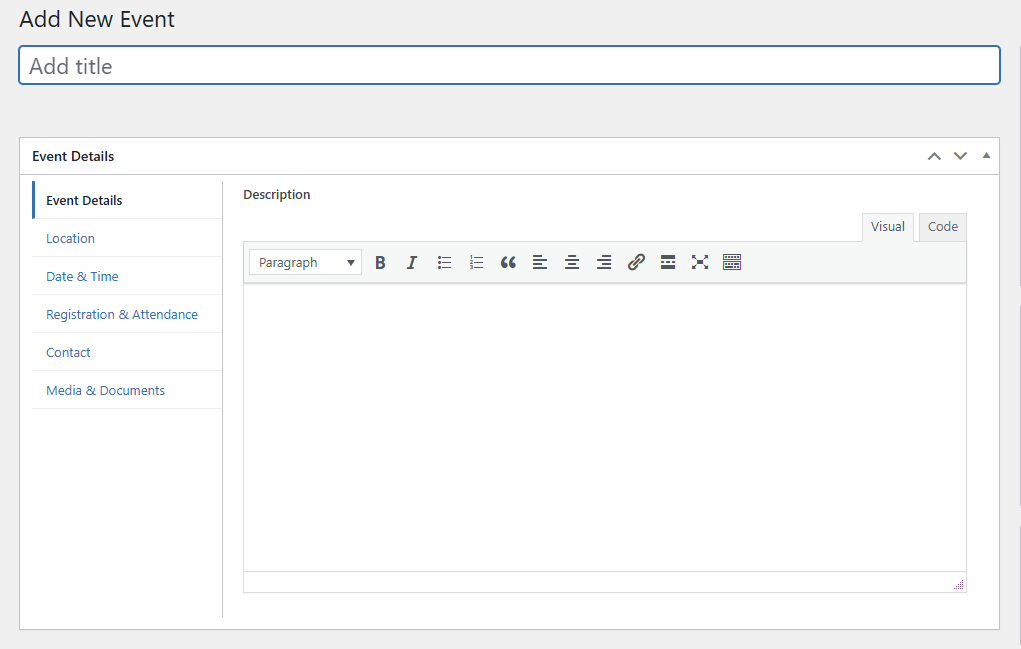
Select Events from the dashboard to add a new event.
The event editor is organized into six sections:
- Details
- Location
- Date and Time
- Registration
- Contact
- Media
The Location section includes address autocomplete and a map preview to help verify the event location.
Contact information is required
Every Local Event must include:
- A contact name
- A valid email address
If either is missing, the event cannot be published and will return to Draft status.
The contact information is displayed on the public event page so visitors know who to contact with questions.
Viewing local events
When Local Events is enabled, WordPress automatically creates:
- An Events page listing upcoming Local Events
- A page for each individual event
No additional page setup is required.
If the Events page displays “Not Found” after enabling the feature, go to Settings > Permalinks and click Save Changes. This refreshes WordPress’s permalink structure and usually resolves the issue.
If your website already uses the /events/ URL, WordPress will automatically use /events-calendar/ instead. If another plugin is already using the /events/ URL, WordPress will display a warning in the dashboard so the conflict can be resolved.
Automatic expiration
The day after a local event ends, WordPress automatically changes its status to Expired.
Expired events:
- No longer appear on the public website
- Remain available in the WordPress dashboard
- Can be viewed using the Expired filter
Which option should you use?
For most websites, the CAES Events block with the CAES Field Report and/or UGA Extension Calendar is all that’s needed.
Use Local Events only when your website needs to publish events that aren’t appropriate for those shared calendars.
