Do your email notifications make too much noise?!? Are you constantly interrupted by email notifications that you cannot or are asked not to unsubscribe to? Try making rules in your Outlook account!
In this post we will cover options for creating custom Outlook rules, specifically using Outlook on the web.
Create rules on the web
Outlook rules are best created on the web instead of your local client. Rules can feed down from the web, but not up.

Getting Started
There are two paths you can use to create rules:
Inbox
- Right-click on an email, hover over Advanced actions and click on Create rule.
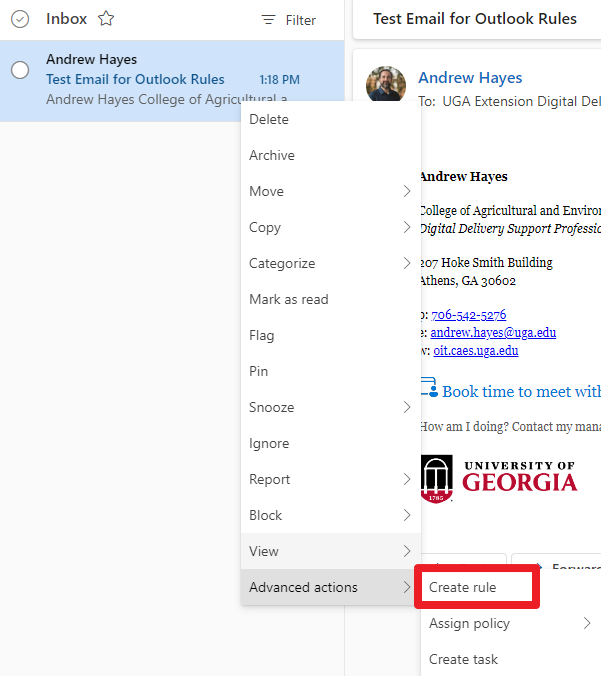
- For the purposes of this article, we want more granular, customized options; click More options.
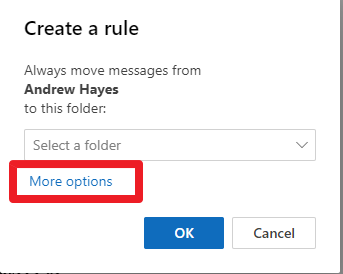
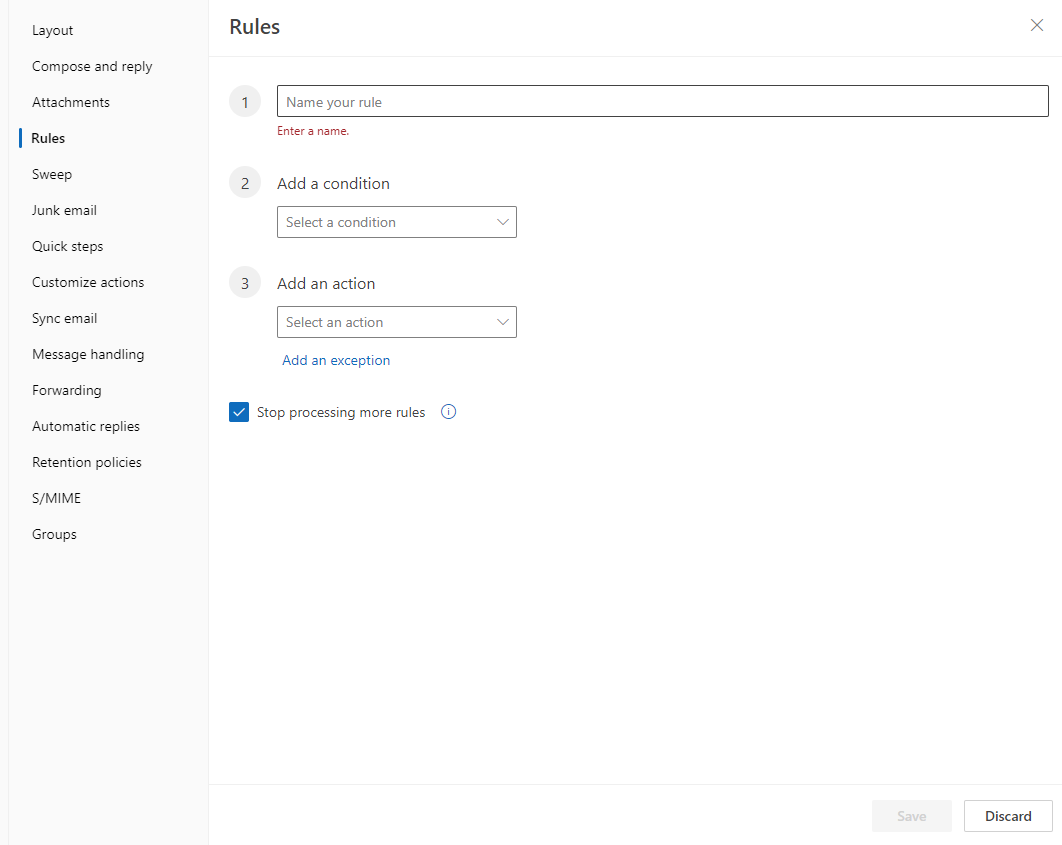
- From this screen, we can:
- Name the Rule (All emails from Andrew Hayes)
- Specify the Condition (Emails from Andrew Hayes)
- Can also specify by Subject name, importance level, if it has an attachment, and many more
- Add an Action (Move to Test Folder)
- Have the rule run immediately and/or stop processing more rules.
- Click Save to save.

Settings
- Click on the Gear icon, found in the upper-right corner of the screen, for Outlook settings; or click View and then View settings.

- Click on Rules then Add new rule.
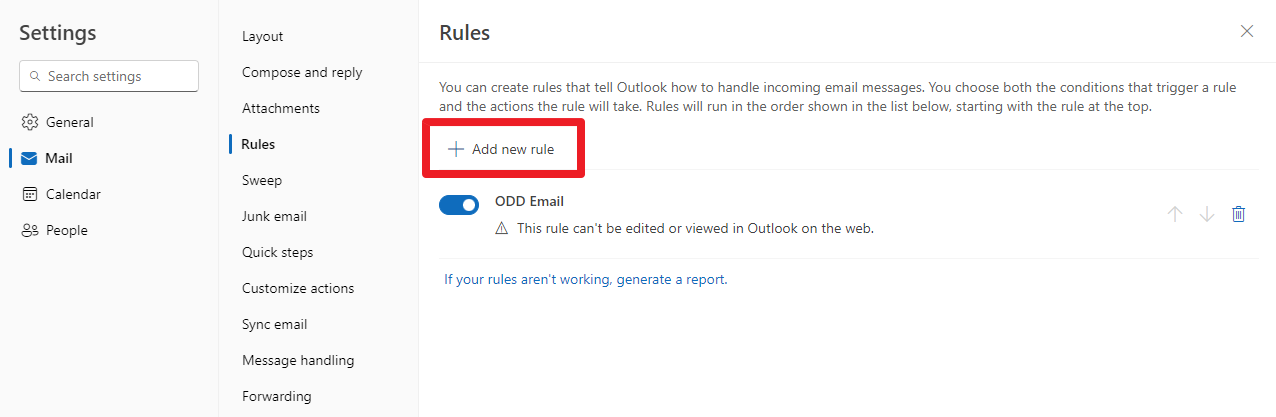
- From here we will be back on the screen seen above, and we can start creating custom rules to help organize your Outlook inbox.
How are rules processed?
Outlook rules will be processed in the order they are listed on the rules page. This means you could have a series of rules to effect change and organization in your mailbox.
Articles of Interest
Need support?
Email caesweb@uga.edu for support and training in setting up custom inbox rules for your Outlook account.