The procedure to upload assets works the same way for images or PDF files. We’ll do both!
Uploading Images
Sign In to AEM.
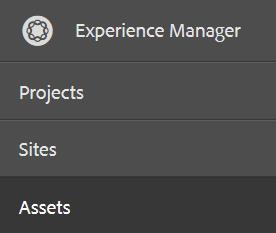
From the links on the left, click Assets.
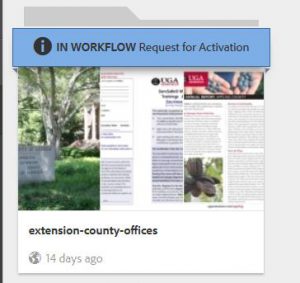
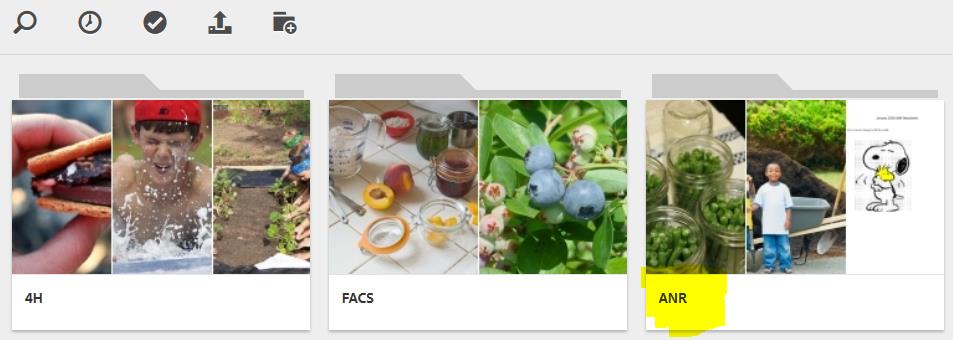
Navigate into your Assets folder. Click on the extension-county-offices card.
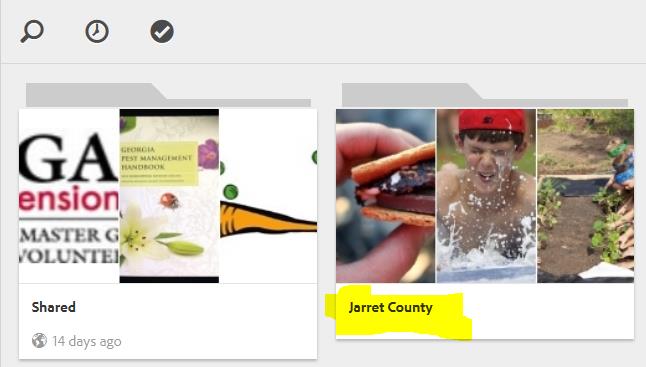
Click on your county card.
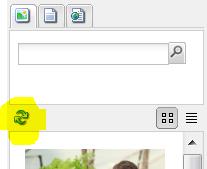
Click to open the appropriate Assets folder. We’ll use ANR. You can upload multiple files at one time, so let’s upload two images.
Click the Upload icon from the top menu.
![]()
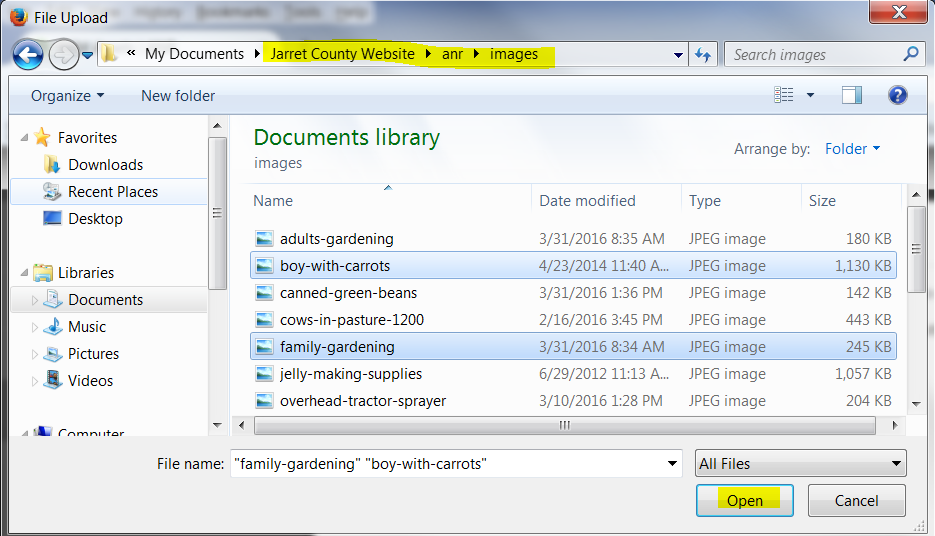
From the File Upload box, find the file or files on your computer or shared drive. To upload more than one file, hold your Ctrl key down while clicking on the files. Release the Ctrl key, then click Open.
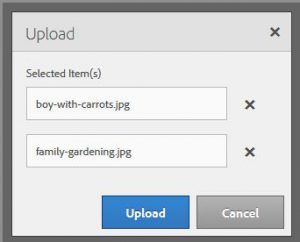
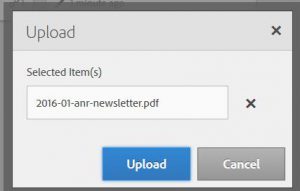
The selected files will show in the Upload box. You can edit the filename here if it wasn’t edited earlier. Click Upload.
The files will show in the folder. If the IN WORKFLOW blue banner shows up, refresh your browser to remove the banner.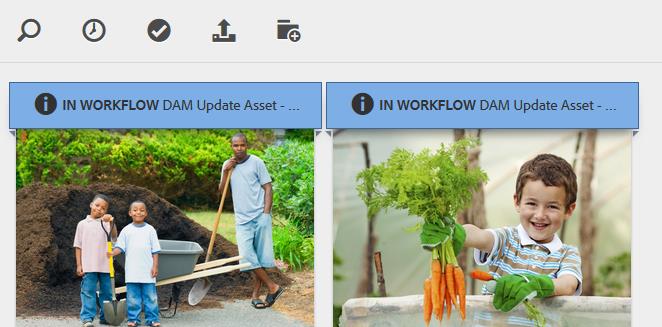
Uploading a PDF File
Now let’s upload a PDF file into the same ANR folder. Of course, you could choose whatever folder you wanted!
Click the Upload button again.
![]()
In the File Upload box, find and then select the PDF file or choose multiple files by holding the CTRL key down as you click them. Click Open.
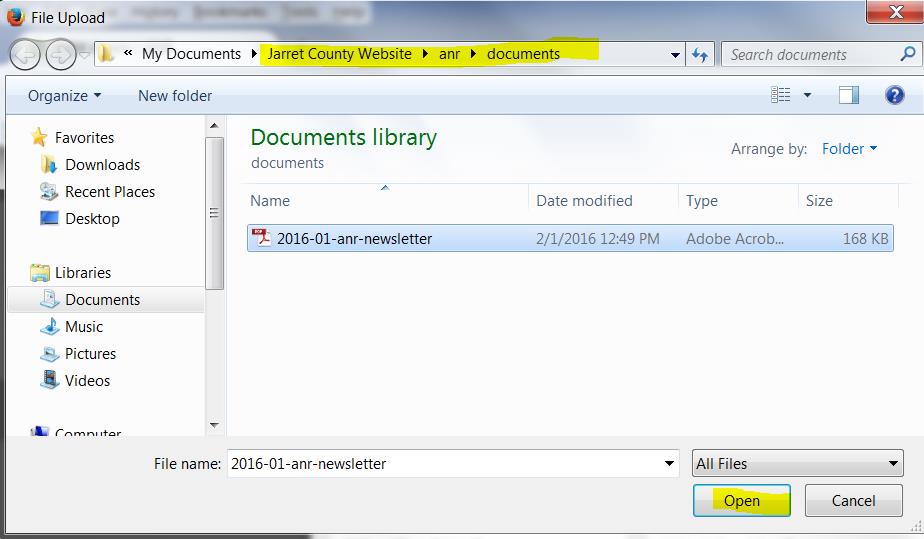
In the Upload box, rename the file if necessary. Then click Upload.
We now have images and PDF files in the same ANR folder to add to the website! Again, if the IN WORKFLOW blue banner displays, refresh your browser.
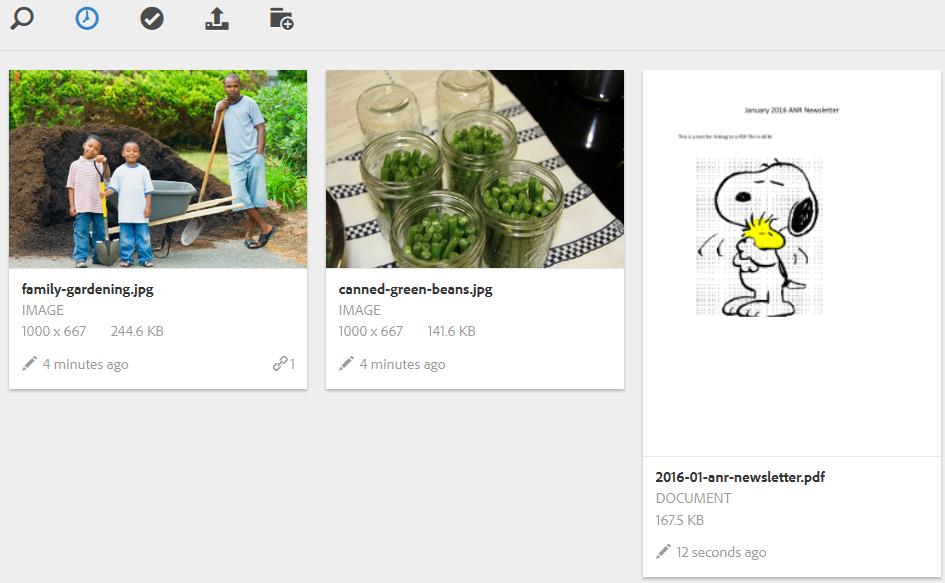
Your newly added image or PDF files should now display in the Content Finder at the top of each section. If you don’t see them, then refresh your Content Finder.