Hey, it’s possible that some of you might not realize that there’s a tool that can help you wrap text around an image. Here’s a step-by-step guide on how to insert the image, but as you can see it is important to know how to use align if you want your image with text wrap.
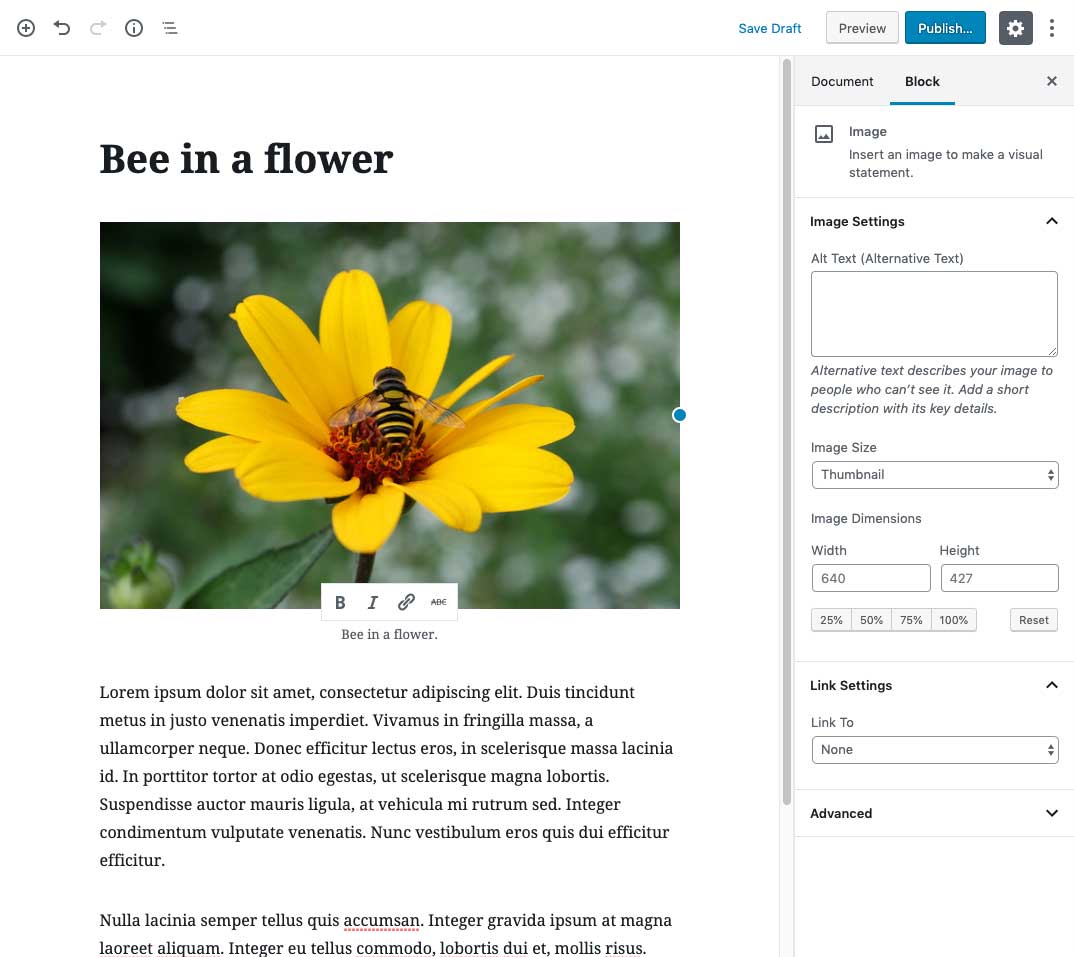
When you enter your post or page editor, you can start by adding the text content onto the page. Then, you will want to insert an image block ABOVE the content you want to align the text with. Click “Media Library” button on the image block to insert your image. Your page should look something like this:
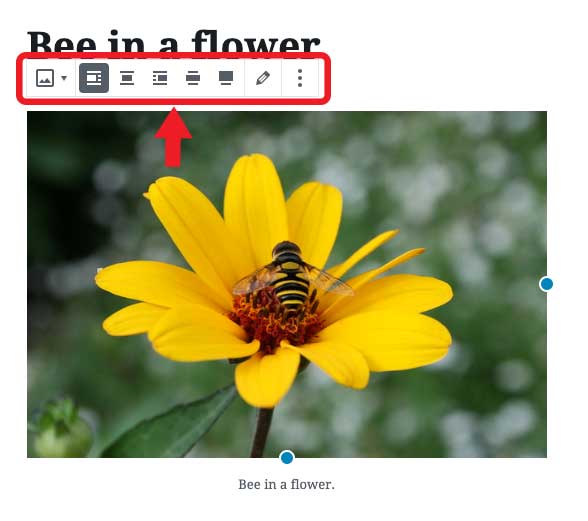
With the image block selected, you will see that there are alignment option icons above it: align left, align center, align right, wide width, full width. Align left or align right will wrap the following content around the image.
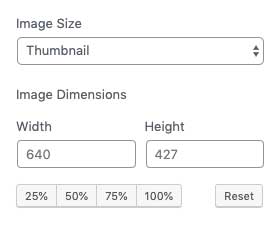
Finally, the image may be too wide to have text wrap around it. With the image block selected, find “Image Dimensions” to the right. You can choose percentage widths (25%, 50%, etc.) to the right in order to adjust the image to text ratio.
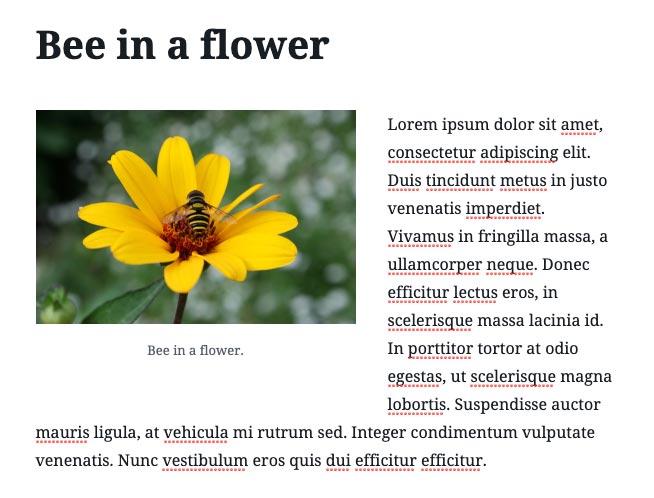
Done! The end result should look something like this: