This article describes how to add a MailChimp subscription form to your WordPress site. We presuppose that you have both a MailChimp account and a WordPress site.
If you run into trouble with any of the steps, contact us for help!

1. Add your MailChimp API key to WordPress.
- Navigate to your WordPress site’s administrative dashboard.
- Click on “MC4WP” from the left sidebar. (MC4WP stands for “Mailchimp for WordPress”.)
- Click on the “Get your API key here” link. You’ll be taken to a MailChimp sign-in page.
- Once you have signed in to MailChimp, you should have the ability to add a new API key. Do that.
- Copy your key and go back to the “MC4WP” page. Paste in the API key.
- Click “Save Changes.”
2. Create a sign up form in WordPress.
- Click “Form” under “MC4WP” to begin creating a form.
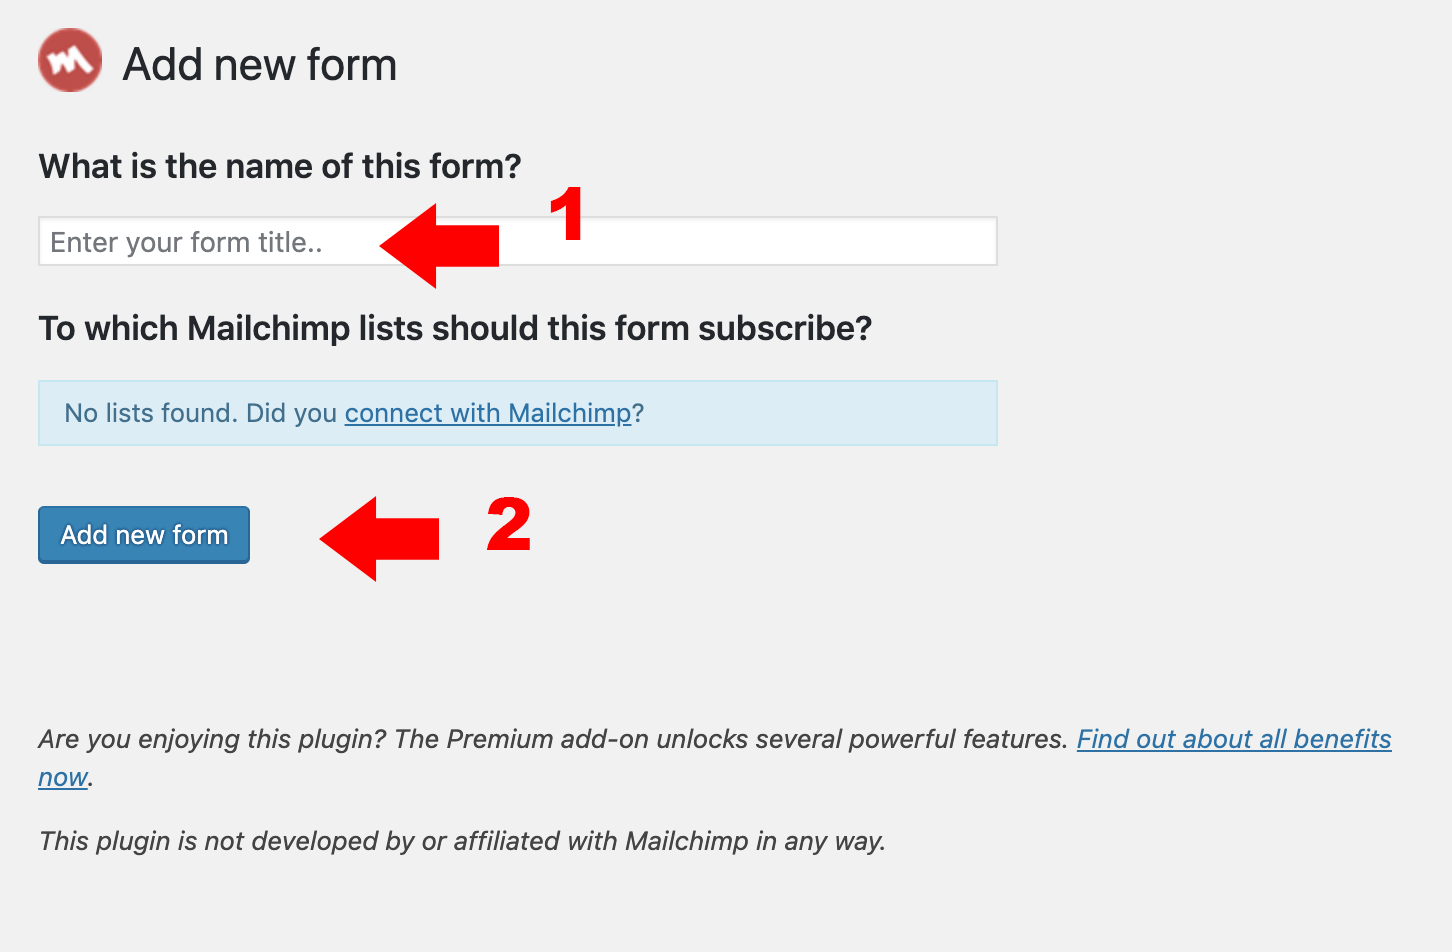
- Type the form title, then click “add new form”.
- Copy the following HTML code into the “Form code” field.
<p>
    <label for="form-email">Email Address <span class="red" aria-hidden="true">*</span></label>
    <input type="email" name="EMAIL" id="form-email" required>
</p>
<p>
    <label for="form-fname">First Name</label>
    <input type="text" name="FNAME" id="form-fname">
</p>
<p>
    <label for="form-lname">Last Name</label>
    <input type="text" name="LNAME" id="form-lname">
</p>
<p>
    <span class="red" aria-hidden="true">*</span> = required field
</p>
<p>
    <input class="button success postfix" type="submit" value="Subscribe">
</p>- Click “Save Changes.”
3. Add your sign-up form to your sidebar or footer
- Click “Editor” from the dashboard’s “Appearance” menu.
- Click “Patterns” from the menu
- For Sidebar click “General” and you will see the sidebar editor, click it skip the next step
- For Footer click “Footer” and you will see the footer editor, click it
- Click the Plus icon and then search for “MailChimp” and select “MailChimp for WordPress Form”
- Drag it onto the page editor
- You can add a header section under the patterns section
- Patterns > Sidebar> Drag a sidebar heading to the editor
- Click “Save” at the top.
Hopefully, this post has been helpful! If you have trouble reach out to us at caesweb@uga.edu.